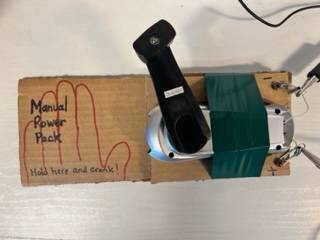
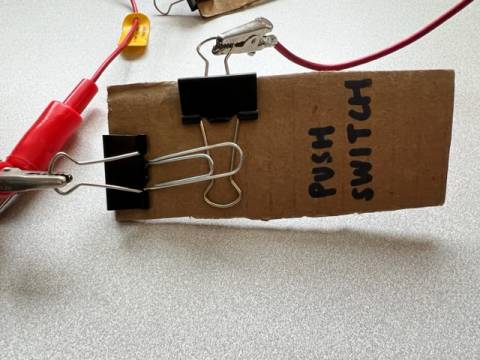
Got some extra cardboard lying around? Why not use it to discover how a circuit works! For this project, we disassembled a battery operated tea light candle- reusing both the battery and the LED light bulb to create "bricks" to make a circuit. Once your creativity gets sparked there are so many exciting "bricks" you can add to your circuit! The possibilities are seemingly endless- but first, let's start with the basics.
For a basic circuit you will need:
- Several cardboard scraps
- 1 LED light bulb (ours is from our disassembled battery operated tea light candle)
- 3V battery or battery pack of your choice
- Several binder clips
- 3 alligator clips (or homemade clips made with wire and paper clips)
Build each circuit "brick" as shown below:
1. Battery Brick (your power source)
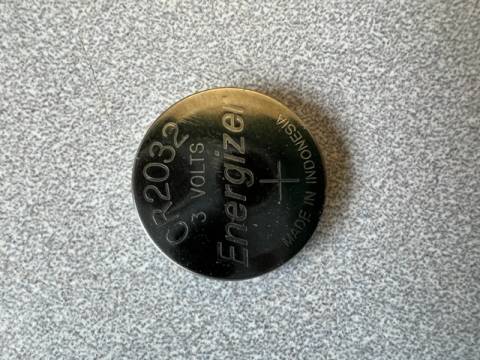

Using a scrap of cardboard and three binder clips, you can create your battery brick. Place a binder clip on each end of the cardboard piece. Flip ONE end of the binder clip down, flat with the cardboard piece. Place your battery ON TOP of the binder clip arm smooth side down (this is the positive terminal of your battery brick). Close the other binder clip OVER TOP the battery (this is the negative terminal of your battery brick). To hold in place, clip a 3rd binder clip on top to secure the battery or use tape to secure. Make sure the battery will not fall out when you move your brick.
2. Switch Brick (what will open and close your circuit)
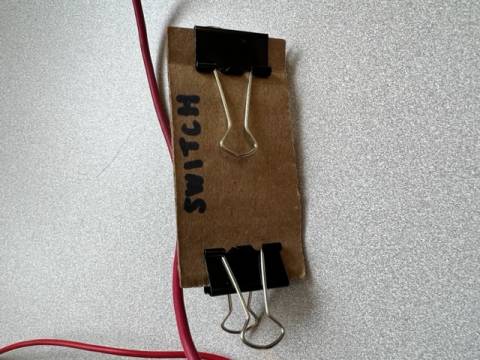
Use a scrap of cardboard and 2 binder clips to create an on and off switch for your simple circuit. Clip a binder clip on either side of the cardboard, laying one arm of the binder clip flat with the cardboard. When you flip the second arm down, make sure it will touch the binder clip arm already laying down. This will close the circuit and allow the current to flow through to power the light bulb! Test switch that the arms will touch each time you turn the circuit "on and off".
3. LED Light Brick
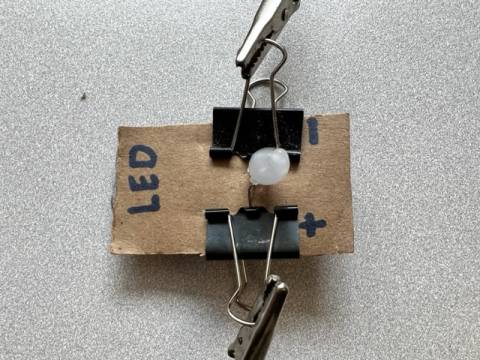
Use a scrap of cardboard, 2 binder clips, and the LED light bulb from your disassembled tea light candle to create your light source for your circuit. Carefully (without breaking the delicate wires) flatten the wired ends of the LED light so they will lay flat on the cardboard. Secure in place with the 2 binder clips, one on each side. The side with the longer segment of wire will be the positive end, and the side with the shorter wire will be the negative end. (Pro tip: Label the (+) and (-) terminals of your LED light brick and battery brick to ensure you hook up your circuit correctly)
Now that you have the basic pieces of your circuit, it's time to connect them all together using the alligator clips.
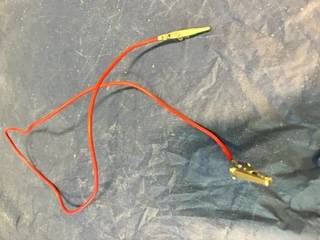
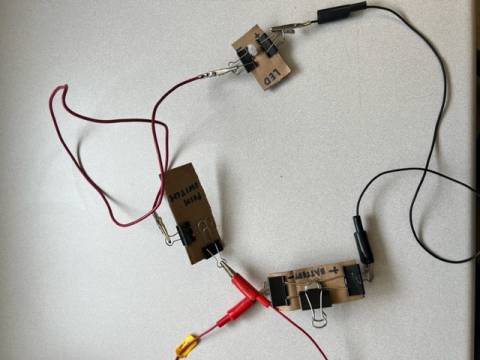
Alligator clips connect to the metal piece of the binder clips:
1. Clip the (+) terminal of your battery brick to the (+) terminal of the LED light brick
2. Clip the (-) terminal of your battery brick to the switch
3. Clip the other end of the switch to the (-) terminal of the LED light brick
Test your circuit by turning the switch on and off! You should see the light bulb turn on when the switch is "on".
Now that you have your basics down, see some of the other bricks we made to take our circuit discovery one step further. What other "bricks" can you create?
